Crawl spaces are often the most overlooked parts of a home, yet they play a crucial role in the overall health and stability of the structure. When crawl spaces become damp or wet, they can cause a host of problems, from mold growth to structural damage. Drying out your crawl space is essential to maintaining a healthy home environment and avoiding costly repairs. In this article, we’ll explore the steps to dry out a crawl space, the reasons why it might be wet, and the best practices to prevent future moisture issues.
Understanding Why Your Crawl Space is Wet
Before diving into the solutions, it’s important to understand why your crawl space might be wet in the first place. Common reasons include:
- Poor Drainage Around the Foundation: If the ground around your home slopes towards the foundation, water can accumulate and seep into the crawl space.
- High Humidity Levels: In some regions, especially those with a humid climate, moisture can enter the crawl space from the air and condense on cooler surfaces.
- Leaking Pipes: Plumbing leaks, especially in areas where pipes run through the crawl space, can introduce water into the area.
- Improper Ventilation: While vents are meant to allow moisture to escape, they can also let humid air in, which can condense and cause dampness.
- Groundwater: In areas with a high water table, groundwater can rise and infiltrate the crawl space.
Inspect the Crawl Space
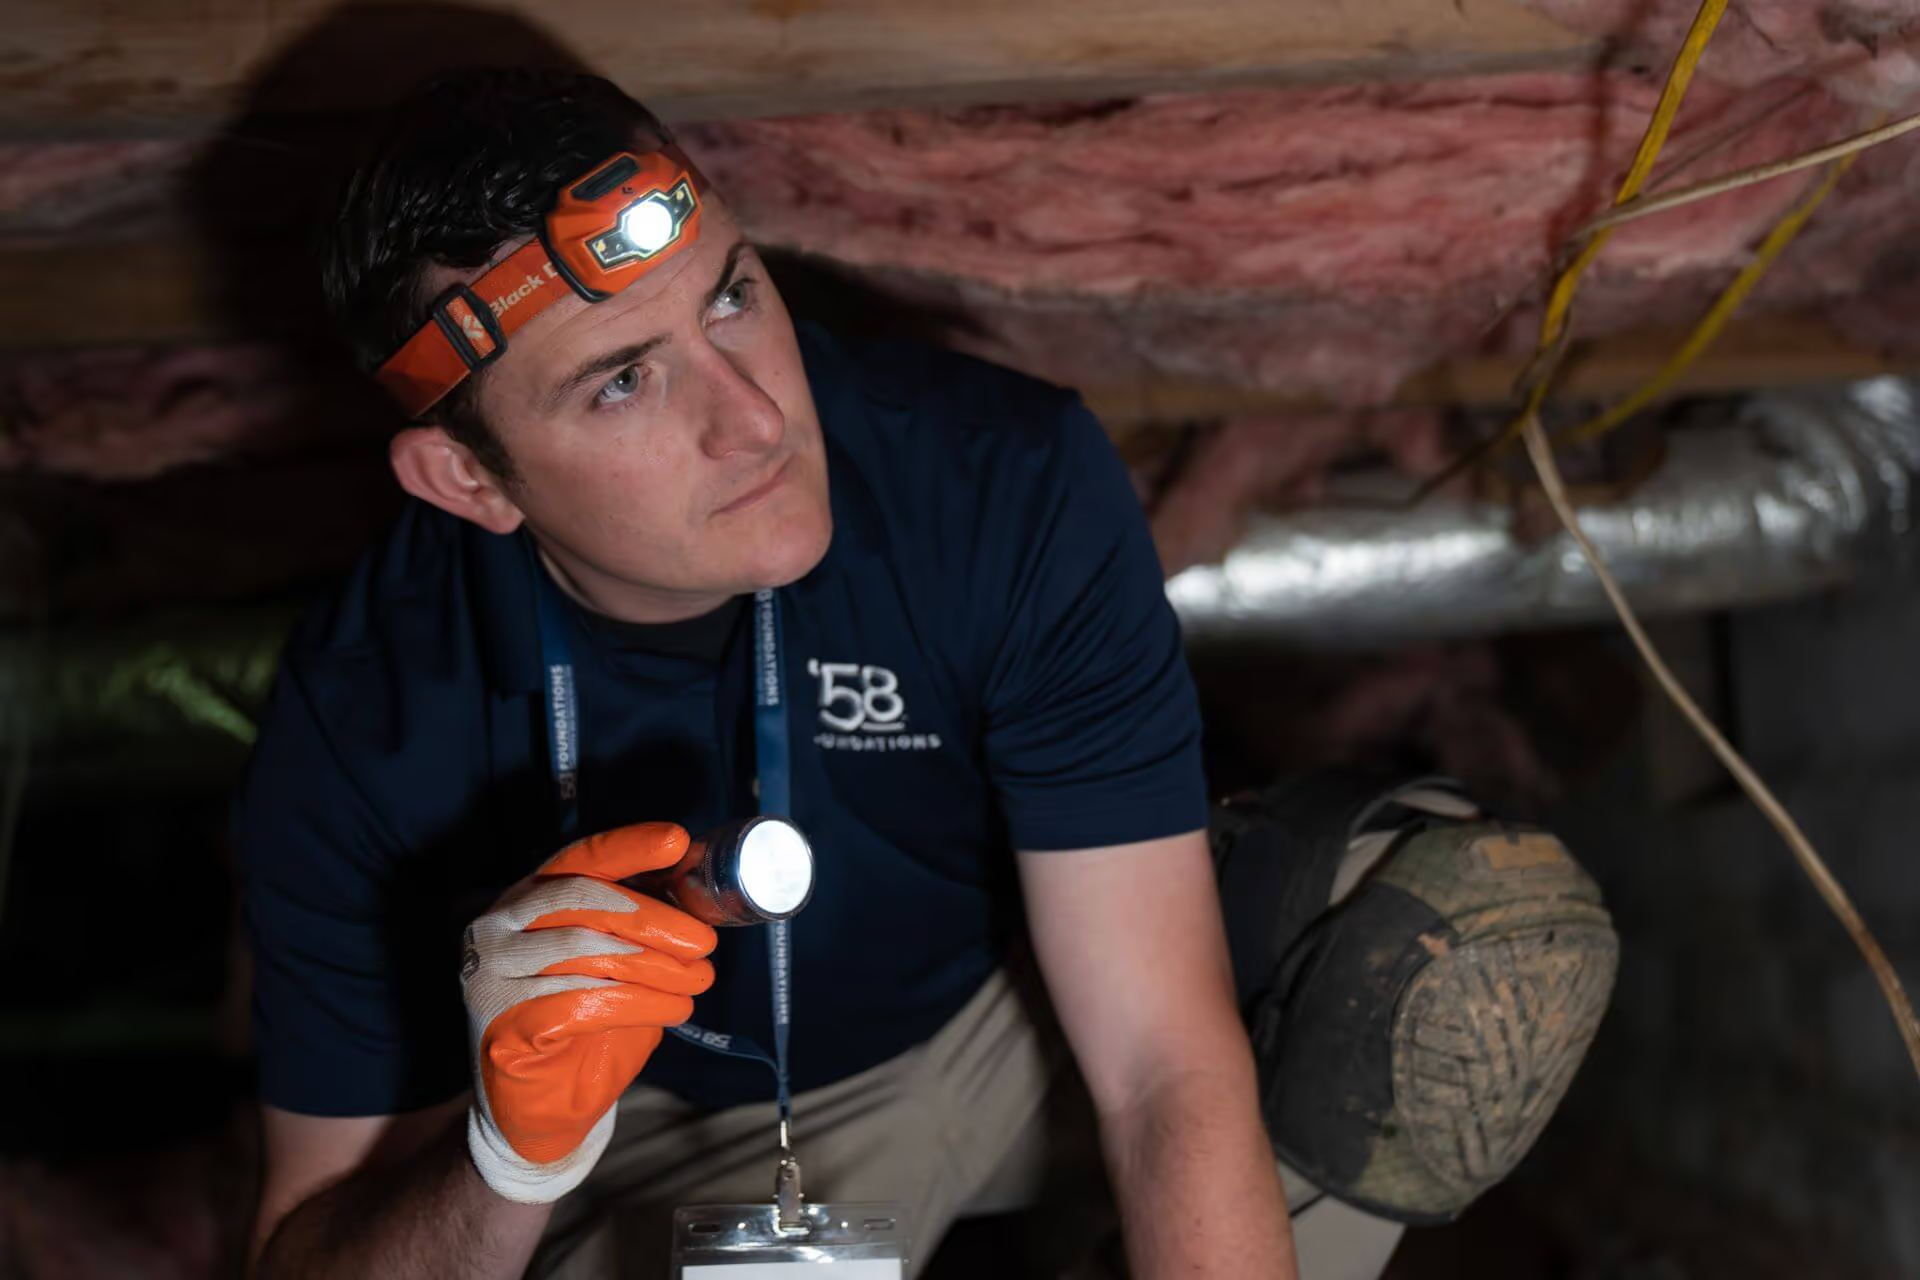
The first step in drying out your crawl space is to inspect it thoroughly. You’ll want to look for standing water, signs of mold, mildew, or rot, and check for any plumbing leaks. Pay attention to the smell as well; a musty odor often indicates the presence of mold or moisture.
Key Areas to Inspect:
- Walls and Floor: Look for any cracks or damp spots that could indicate where water is entering.
- Insulation: Check if the insulation is wet or sagging, which can be a sign of moisture problems.
- Ventilation: Ensure that all vents are clear of debris and functioning properly.
- Pipes: Look for signs of leaks or condensation on the pipes.
If you find standing water or significant mold growth, it may be necessary to call in a professional before proceeding.
Remove Standing Water
If your inspection reveals standing water, it’s crucial to remove it as soon as possible. The longer water remains in your crawl space, the more damage it can cause.
Methods for Removing Water:
- Wet/Dry Vacuum: For smaller amounts of water, a wet/dry vacuum can be effective in removing it.
- Pump: For larger amounts of water, you may need to use a sump pump or a portable water pump.
- Professional Services: In cases of significant flooding, it may be best to hire a professional water removal service to ensure all moisture is eliminated.
After removing standing water, use fans and dehumidifiers to help dry out the remaining moisture. Running a fan for several days can help expedite the drying process.
Address the Source of the Moisture
To prevent future moisture problems, it’s essential to address the source of the water. Here’s how you can tackle the most common sources:
- Improve Drainage Around the Foundation:
- Grade the Soil: Ensure the ground around your home slopes away from the foundation. A slope of at least 6 inches over 10 feet is generally recommended.
- Install Gutters and Downspouts: Make sure your gutters are clear of debris and that downspouts direct water at least 10 feet away from the foundation.
- French Drains: Consider installing a French drain around the perimeter of your home to channel water away from the foundation.
- Reduce Humidity Levels:
- Install a Dehumidifier: A dehumidifier specifically designed for crawl spaces can help maintain a lower humidity level.
- Seal Vents: In areas with high humidity, it might be beneficial to seal the crawl space vents and install a vapor barrier (more on that below).
- Repair Leaking Pipes:
- Fix Leaks: If you’ve identified any plumbing leaks, repair them immediately to prevent water from entering the crawl space.
- Insulate Pipes: Insulating pipes can help prevent condensation and the potential for future leaks.
- Control Groundwater:
- Install a Sump Pump: If groundwater is a recurring issue, installing a sump pump can help keep your crawl space dry by automatically pumping out water that accumulates.
Install a Vapor Barrier
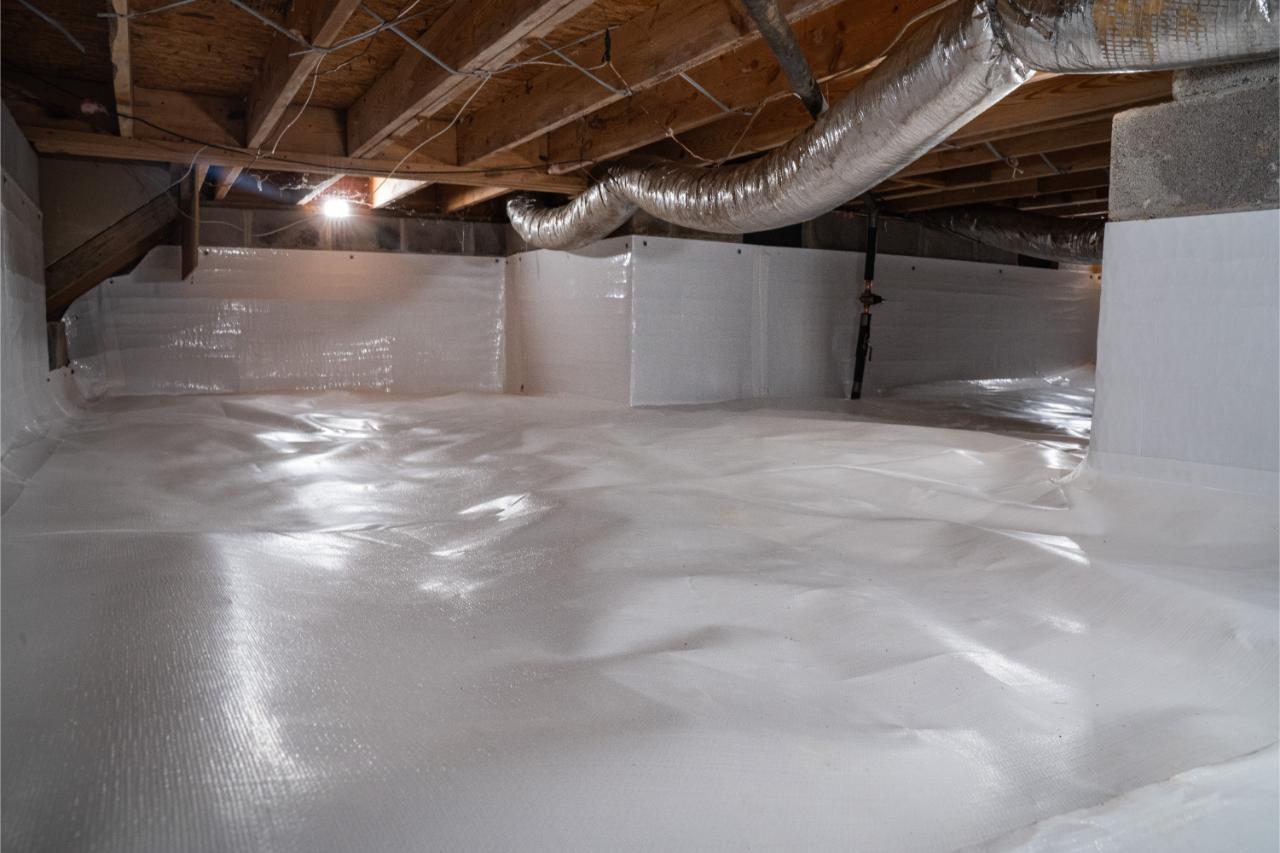
A vapor barrier is a crucial element in keeping your crawl space dry. It’s a thick plastic sheeting that is laid across the ground and up the walls of the crawl space to prevent moisture from the soil from entering the area.
Installing a Vapor Barrier:
- Choose the Right Material: Look for a vapor barrier with a thickness of at least 10 to 20 mils. Thicker materials offer better protection and durability.
- Cover the Entire Area: The vapor barrier should cover the entire ground surface and extend up the walls by at least 6 to 12 inches.
- Seal the Seams: Use tape or adhesive to seal the seams between sheets of the vapor barrier, ensuring a continuous barrier against moisture.
- Seal the Edges: Attach the vapor barrier to the walls using anchors or adhesive, and ensure that it is sealed tightly around any pipes or other penetrations.
Installing a vapor barrier can significantly reduce the amount of moisture in your crawl space, helping to prevent mold growth and protect the structural integrity of your home.

Improve Ventilation or Consider Sealing the Crawl Space
Ventilation plays a key role in controlling moisture levels in your crawl space. Traditionally, crawl spaces have been vented to allow moisture to escape. However, in some cases, sealing the crawl space entirely and conditioning it may be a better solution, especially in humid climates.
Improving Ventilation:
- Check and Clean Vents: Ensure that all crawl space vents are clear of debris and functioning properly.
- Add Additional Vents: If your crawl space lacks adequate ventilation, consider adding more vents to increase airflow.
- Install Vent Fans: Vent fans can help improve airflow and reduce moisture buildup.
Sealing the Crawl Space:
- Seal Vents: In humid areas, sealing the vents and installing a vapor barrier may be more effective in controlling moisture.
- Condition the Crawl Space: If you seal the crawl space, consider conditioning it by connecting it to your home’s HVAC system. This can help regulate temperature and humidity levels.
- Insulate the Walls: If you seal the crawl space, insulating the walls can help improve energy efficiency and reduce the risk of condensation.
Monitor and Maintain
Once your crawl space is dry, it’s important to monitor the area regularly to ensure that moisture doesn’t return. Regular inspections can help you catch potential problems early before they become serious issues.
Monitoring Tips:
- Check Humidity Levels: Use a hygrometer to monitor the humidity levels in your crawl space. Ideally, you want to keep humidity below 60% to prevent mold growth.
- Inspect for Leaks: Regularly check for signs of leaks or standing water, especially after heavy rain.
- Maintain Gutters and Downspouts: Ensure that your gutters and downspouts remain clear and properly direct water away from your home.
Maintenance Practices:
- Replace the Dehumidifier Filter: If you have a dehumidifier installed, remember to change the filter regularly to ensure it continues to function efficiently.
- Check the Vapor Barrier: Periodically inspect the vapor barrier for any tears or damage and repair as needed.
- Sump Pump Maintenance: If you have a sump pump, check it periodically to ensure it’s functioning correctly, and consider installing a battery backup in case of power outages.
When to Call a Professional
While many homeowners can handle basic crawl space drying tasks, there are times when it’s best to call in a professional. Consider seeking professional help if:
- You Find Extensive Mold: Mold remediation can be complex and hazardous; it’s often best left to professionals.
- The Crawl Space Is Continuously Wet: If you’ve tried all the steps above and your crawl space is still damp, there may be underlying issues that require professional diagnosis and repair.
- Structural Damage Is Present: If you notice signs of structural damage, such as rotting wood or foundation cracks, it’s essential to get a professional assessment and repair.
A Healthy Home is a Happy Home
Drying out your crawl space is crucial for maintaining a healthy home environment and preventing costly damage. By following the steps outlined in this article—inspecting the area, removing standing water, addressing the moisture source, installing a vapor barrier, improving ventilation, and maintaining the space—you can ensure that your crawl space remains dry and your home stays safe. Regular monitoring and proactive maintenance are key to keeping your crawl space in top condition, but don’t hesitate to seek professional help if you encounter challenges beyond your comfort level.
If you are experiencing potential issues with a damp crawl space calling in a professional such as ’58 Foundations and Waterproofing that specializes in these services can help. We will provide you with a zero obligation FREE inspection to help you determine the severity of your situation and the best solutions available. Remember that putting an inspection off can lead to more costly remedies down the line.


