Waterproofing a basement is a crucial step in protecting your home from water damage, mold growth, and structural issues. When faced with basement moisture problems, many homeowners wonder whether they can tackle the waterproofing process themselves or if they should hire a professional. While some aspects of basement waterproofing can be handled as DIY projects, others are more complex and may require professional expertise. In this article, we'll explore the different aspects of basement waterproofing, assess which tasks are suitable for DIY, and provide guidance on when it's best to call in the experts.
Understanding Basement Waterproofing
Before deciding whether you can waterproof your basement yourself, it’s important to understand what basement waterproofing entails. The goal of waterproofing is to prevent water from entering your basement and to manage any moisture that does make its way inside. This typically involves a combination of exterior and interior waterproofing methods, as well as proper drainage systems.
Key components of basement waterproofing include:
- Exterior Waterproofing: Involves applying waterproof coatings or membranes to the outside of the foundation walls and installing drainage systems to direct water away from the home.
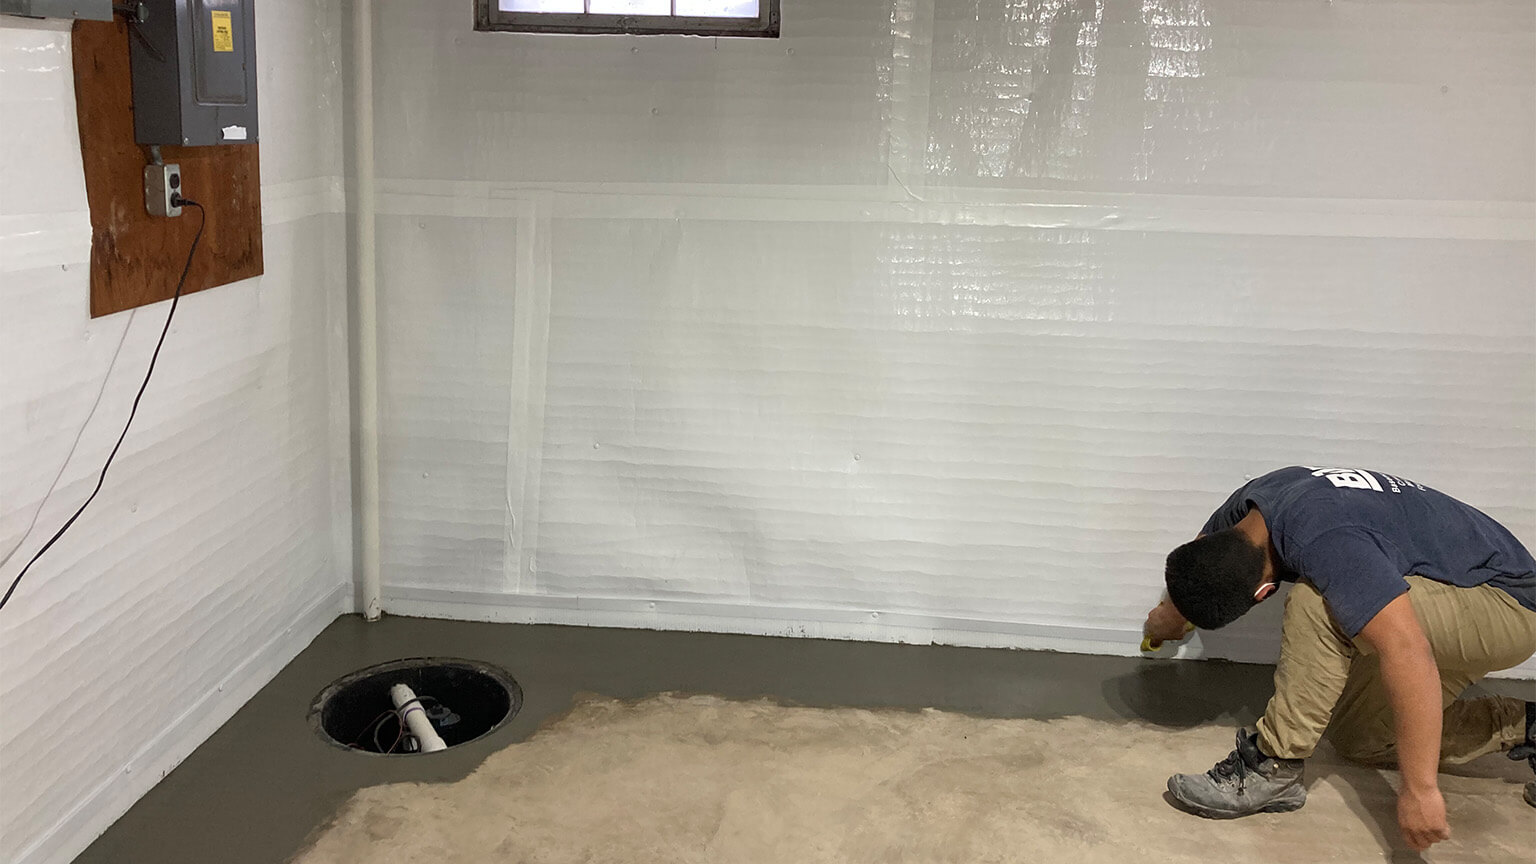
- Interior Waterproofing: Includes installing sump pumps, interior drainage systems, and applying waterproof coatings to the inside of the basement walls.
- Drainage Systems: Crucial for managing water around your foundation, these systems include French drains, downspout extensions, and proper grading of the landscape around your home.
DIY Basement Waterproofing: What You Can Do
If you're considering waterproofing your basement yourself, there are several tasks that you can likely handle, especially if the moisture issues are minor. Here are some DIY-friendly basement waterproofing methods:
- Seal Cracks and Gaps
- What It Involves: One of the simplest DIY waterproofing tasks is sealing cracks and gaps in your basement walls and floor. Use hydraulic cement or masonry caulk to fill in any cracks, especially around windows, doors, and plumbing penetrations.
- Why It’s Effective: Sealing cracks can prevent water from seeping into your basement through small openings, which is particularly important if your home experiences minor moisture issues.
- Tools Needed: You’ll need a caulking gun, hydraulic cement, or masonry caulk, and a putty knife.
- Apply Waterproof Coatings
- What It Involves: Waterproof paints and sealants can be applied to the interior walls and floors of your basement to create a moisture-resistant barrier. These products are often available in hardware stores and can be applied using a brush or roller.
- Why It’s Effective: Waterproof coatings can help prevent minor moisture seepage through porous concrete walls and floors, offering a temporary solution to dampness.
- Tools Needed: A paint roller or brush, waterproof paint or sealant, and a paint tray.
- Improve Exterior Drainage
- What It Involves: Improving the drainage around your home is a key step in preventing water from accumulating near your foundation. Ensure that your gutters are clean and that downspouts extend at least 6-10 feet away from the foundation. You can also improve grading around your home by adding soil to create a slope that directs water away from the foundation.
- Why It’s Effective: Proper drainage reduces the amount of water that can accumulate around your foundation, minimizing the risk of water seeping into your basement.
- Tools Needed: Shovels, soil, a wheelbarrow, downspout extensions, and a gutter cleaning tool.
- Install a Dehumidifier
- What It Involves: In areas with high humidity, a dehumidifier can help control moisture levels in your basement. Dehumidifiers are easy to install and require minimal maintenance.
- Why It’s Effective: By reducing the humidity level in your basement, you can prevent condensation on walls and floors, which can lead to mold growth and other moisture-related issues.
- Tools Needed: A dehumidifier and an electrical outlet.
- Extend Downspouts
- What It Involves: Downspouts should direct water away from the foundation to prevent pooling near the basement walls. You can extend your downspouts using inexpensive materials found at most hardware stores.
- Why It’s Effective: Extending downspouts reduces the amount of water that accumulates around your foundation, lowering the risk of basement leaks.
- Tools Needed: Downspout extensions, screws, and a screwdriver.
When to Call a Professional
While some basement waterproofing tasks are suitable for DIY, others are more complex and require professional expertise. Here are some scenarios where it's best to hire a professional:
- Severe Water Intrusion
- When to Call a Pro: If your basement has standing water, large cracks in the foundation, or significant water intrusion during heavy rains, it's time to call a professional. Severe water issues may indicate more serious problems with your foundation or drainage system that require specialized knowledge and equipment to fix.
- Exterior Waterproofing
- When to Call a Pro: Exterior waterproofing involves excavating the soil around your foundation to apply waterproof coatings or install drainage systems. This is a labor-intensive and potentially dangerous task that should be handled by professionals with experience in foundation work.
- Why It’s Best Left to Experts: Improper installation of exterior waterproofing systems can lead to further water issues and even structural damage.
- Foundation Repairs
- When to Call a Pro: If you discover large cracks in your foundation walls or floor, or if the foundation appears to be shifting or settling, professional help is essential. Foundation repairs require specialized skills and tools to ensure the integrity of your home’s structure.
- Why It’s Best Left to Experts: Improperly repaired foundations can lead to serious structural problems and costly repairs down the line.
- Interior Drainage Systems
- When to Call a Pro: Installing interior drainage systems, such as French drains or sump pumps, can be complex and requires a good understanding of how water flows through your basement. A professional can design and install a system that effectively manages water and prevents future issues.
- Why It’s Best Left to Experts: Incorrect installation can result in ineffective drainage, leading to continued water problems and potential damage to your basement.
- Mold Remediation
- When to Call a Pro: If your basement has significant mold growth due to moisture issues, professional remediation is recommended. Mold can pose serious health risks, and removing it requires specialized equipment and expertise.
- Why It’s Best Left to Experts: Professionals can safely remove mold and address the underlying moisture problem to prevent it from returning.
Steps to Take Before Starting a DIY Waterproofing Project
If you decide to tackle some aspects of basement waterproofing yourself, it’s important to prepare properly to ensure success. Here are some steps to take before starting your DIY project:
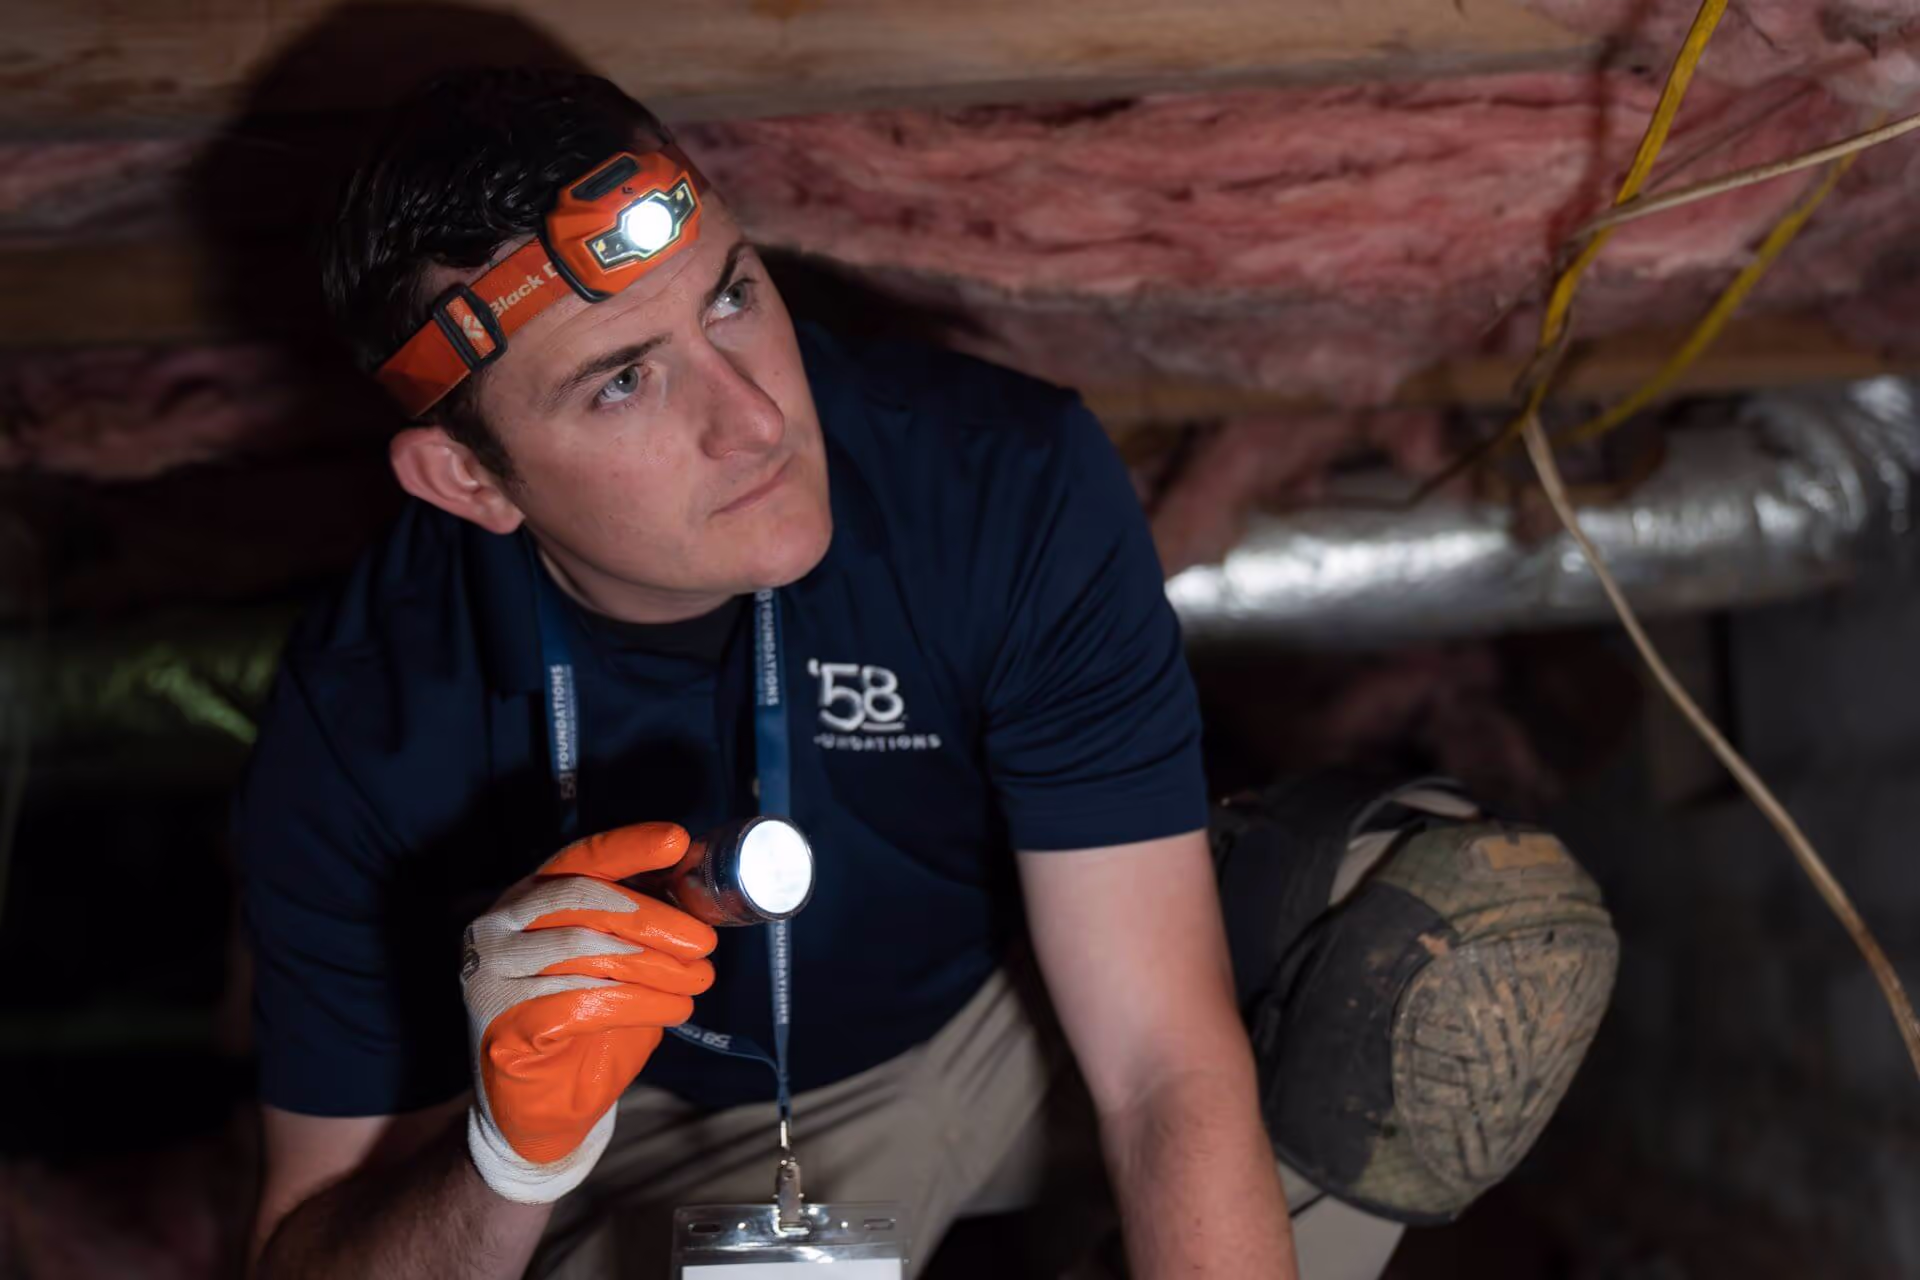
- Identify the Source of Moisture
- Inspection: Before starting any waterproofing project, inspect your basement to identify where the moisture is coming from. This could include cracks in the foundation, leaks around windows, or condensation due to high humidity.
- Assessment: Determine the severity of the moisture issue. Minor dampness may be addressed with DIY methods, but significant water intrusion will likely require professional help.
- Gather the Right Tools and Materials
- Research: Make sure you have all the necessary tools and materials for the project you plan to undertake. This could include caulking guns, waterproof sealants, dehumidifiers, and downspout extensions.
- Safety Gear: Don’t forget safety gear, such as gloves, goggles, and a dust mask, especially if you’re dealing with mold or using strong chemicals.
- Plan Your Project
- Timeline: Plan your project timeline, taking into account drying times for sealants and coatings, as well as the weather if you’re working on exterior drainage.
- Step-by-Step: Break down your project into manageable steps, so you don’t get overwhelmed.
- Consult Resources
- Guides and Tutorials: There are many resources available, including online tutorials and guides, that can help you understand the process of waterproofing your basement.
- Ask for Advice: Don’t hesitate to ask for advice from professionals at hardware stores or from friends who have experience with similar projects.
Protect Your Home With Basement Waterproofing
Waterproofing your basement is a vital task to protect your home from water damage, mold growth, and potential structural issues. While some aspects of basement waterproofing can be tackled as DIY projects, others require professional expertise to ensure effective and long-lasting results. Simple tasks like sealing cracks, applying waterproof coatings, and improving drainage can be done by homeowners, especially for minor moisture issues. However, severe water intrusion, foundation repairs, exterior waterproofing, and mold remediation are best left to professionals who have the necessary skills, tools, and experience.
Before starting any DIY waterproofing project, it’s important to assess the severity of the moisture problem, gather the right tools, and plan your approach carefully. If you’re unsure about the extent of the issue or the best solution, consulting with a professional can provide peace of mind and help you avoid costly mistakes. Ultimately, the key to successful basement waterproofing is to address the problem at its source, whether that requires a DIY solution or the expertise of a professional.
If you are experiencing potential issues with a damp or wet basement calling in a professional such as ’58 Foundations and Waterproofing that specializes in these services can help. We will provide you with a zero obligation FREE inspection to help you determine the severity of your situation and the best solutions available. Remember that putting an inspection off can lead to more costly remedies down the line.